Bell fibre installation notes

NCF FTTP beta program
This post provides details of the Bell FTTP installation that occured at my house on Aug 16, 2025. This work was scheduled by National Capital Freenet as part of its FTTP beta program. The installation shown below was done by a Bell Canada technician.
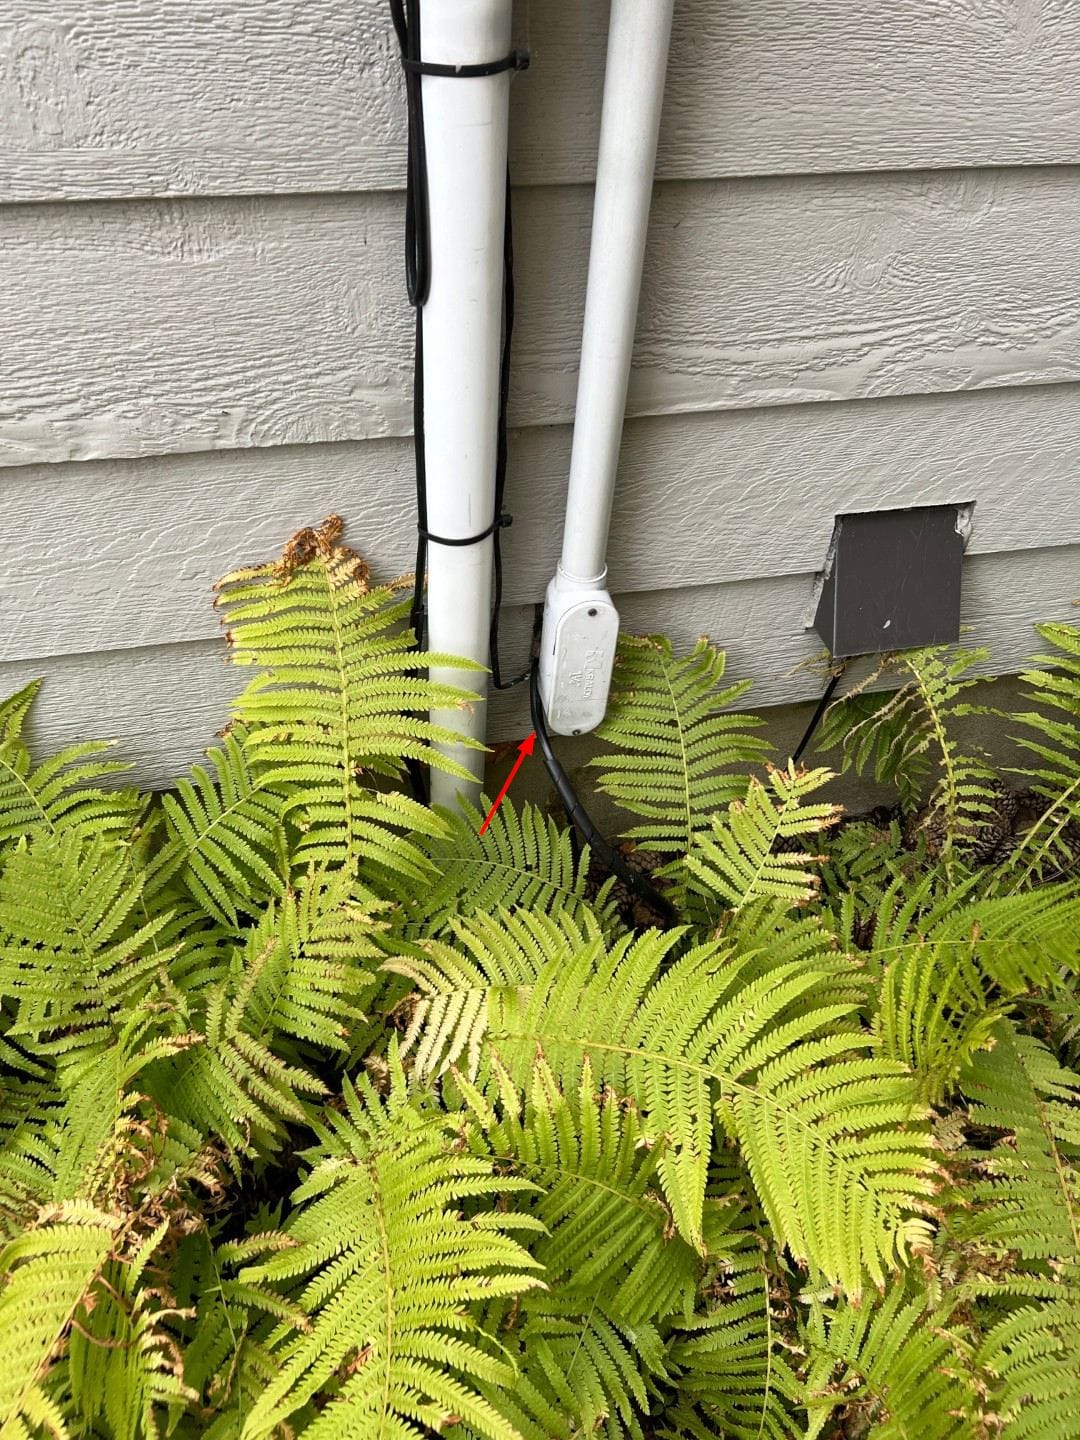
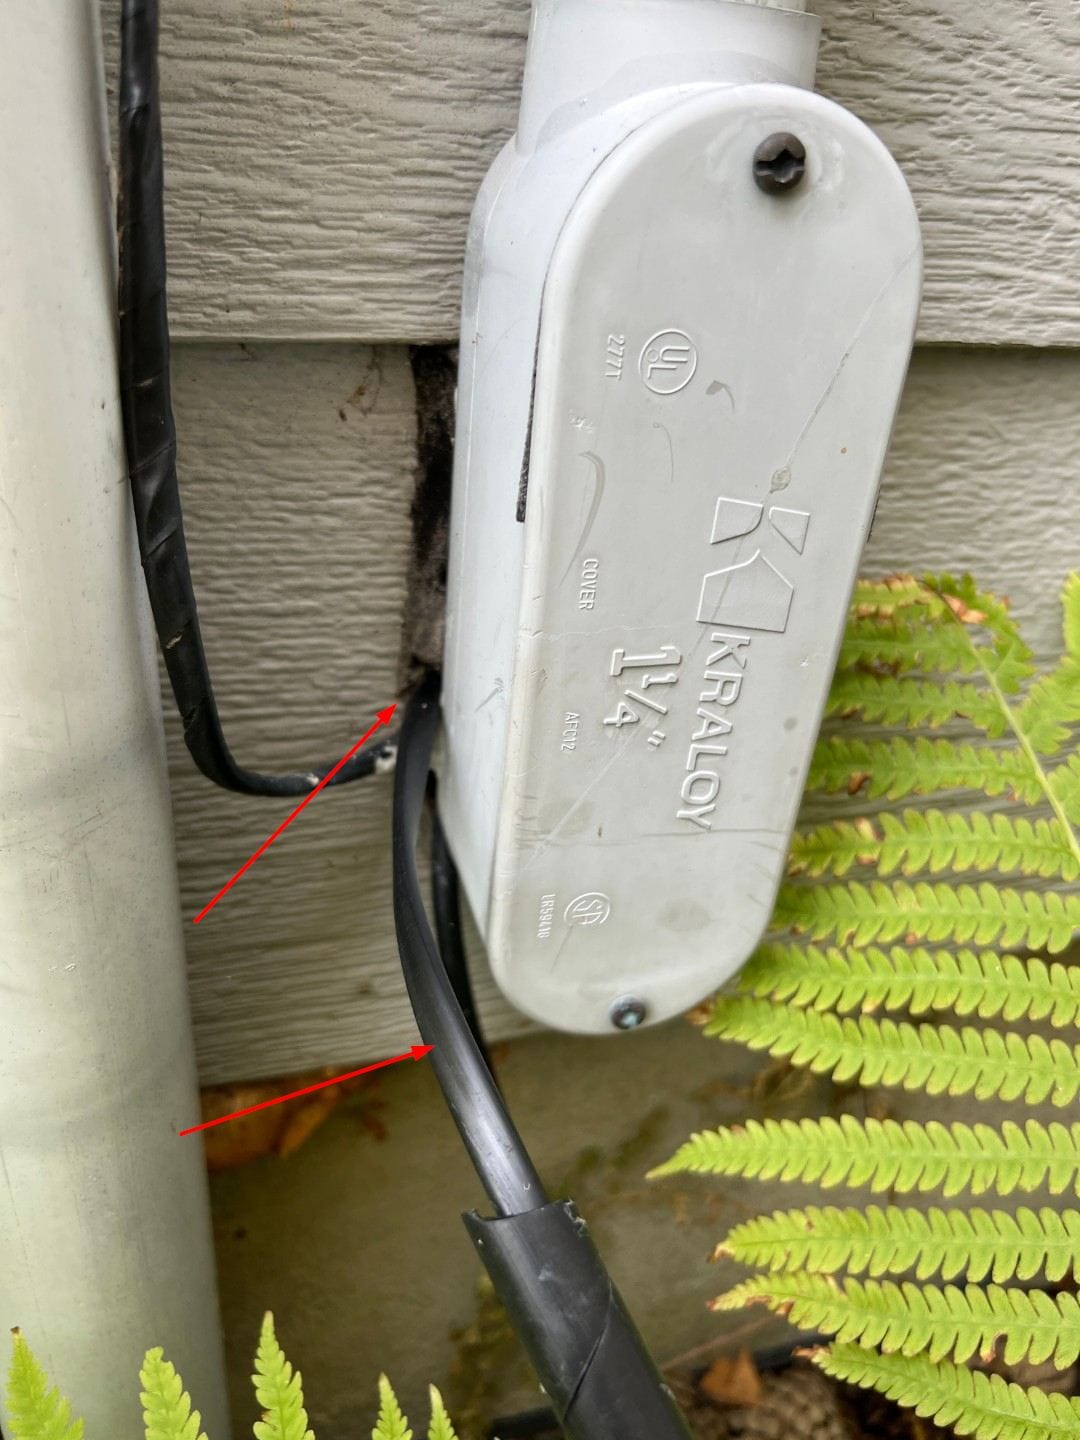
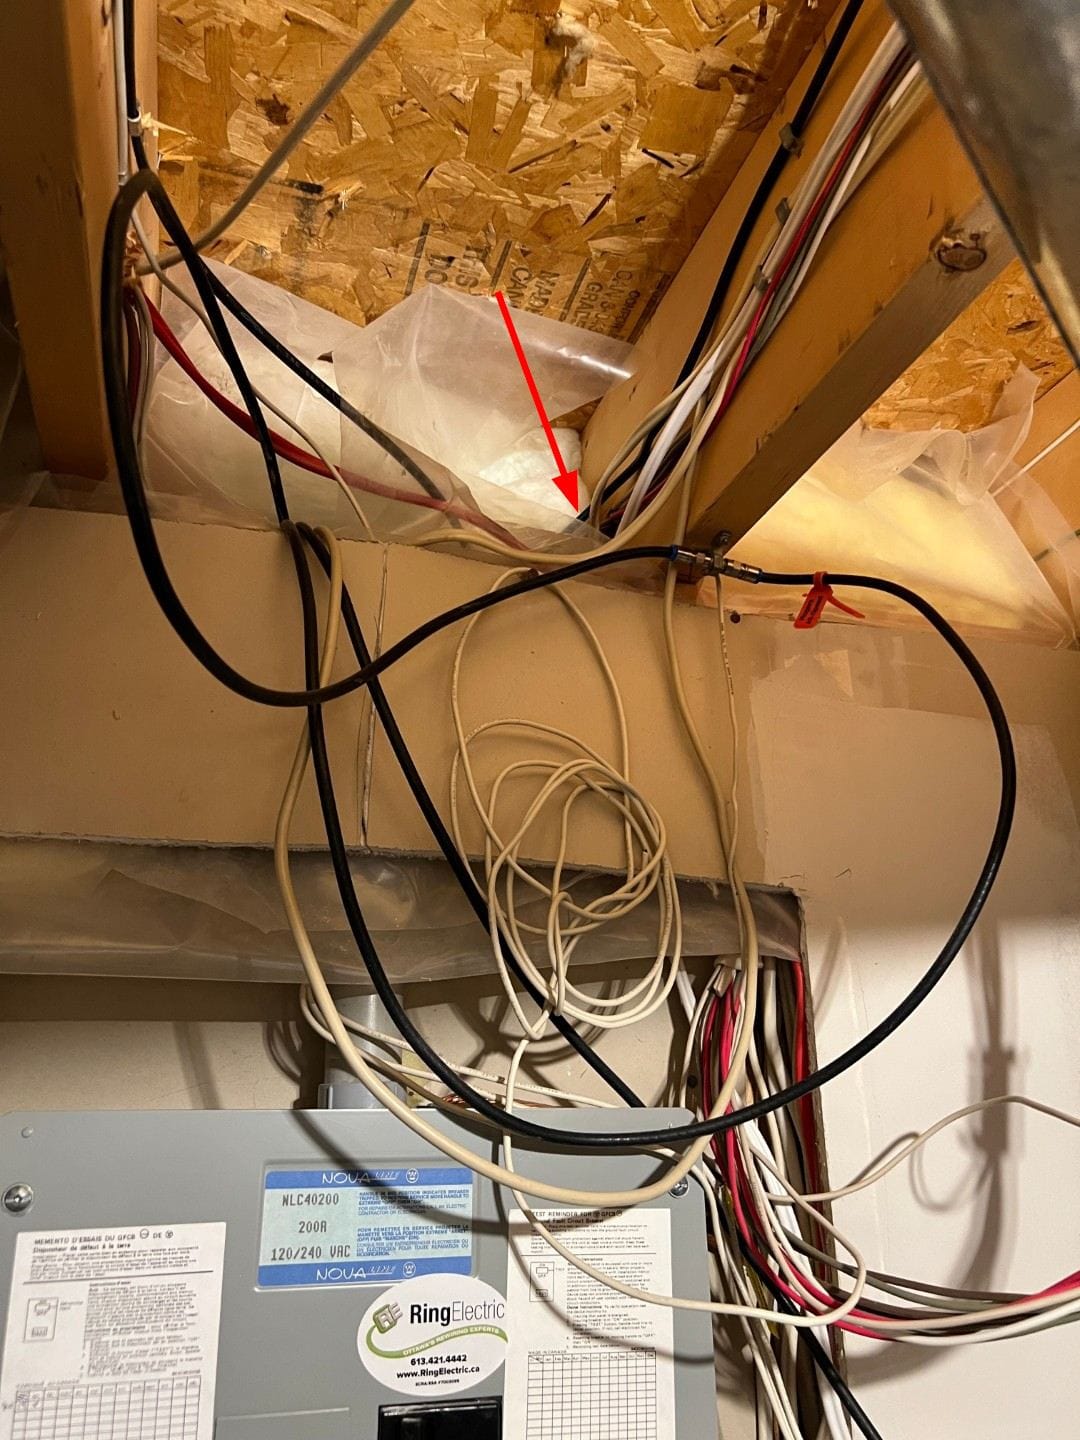
The optical fibre cable was looped and zip-tied nearby initially. The installer simply uncoiled it and pushed the end through the caulking around the metered hydro input conduit to my house, as shown below by the red arrow. He did not have to drill any holes. He did not add more caulking, so I'll probably have a look at that to ensure there are no gaps for insects to crawl in.
Entering the house
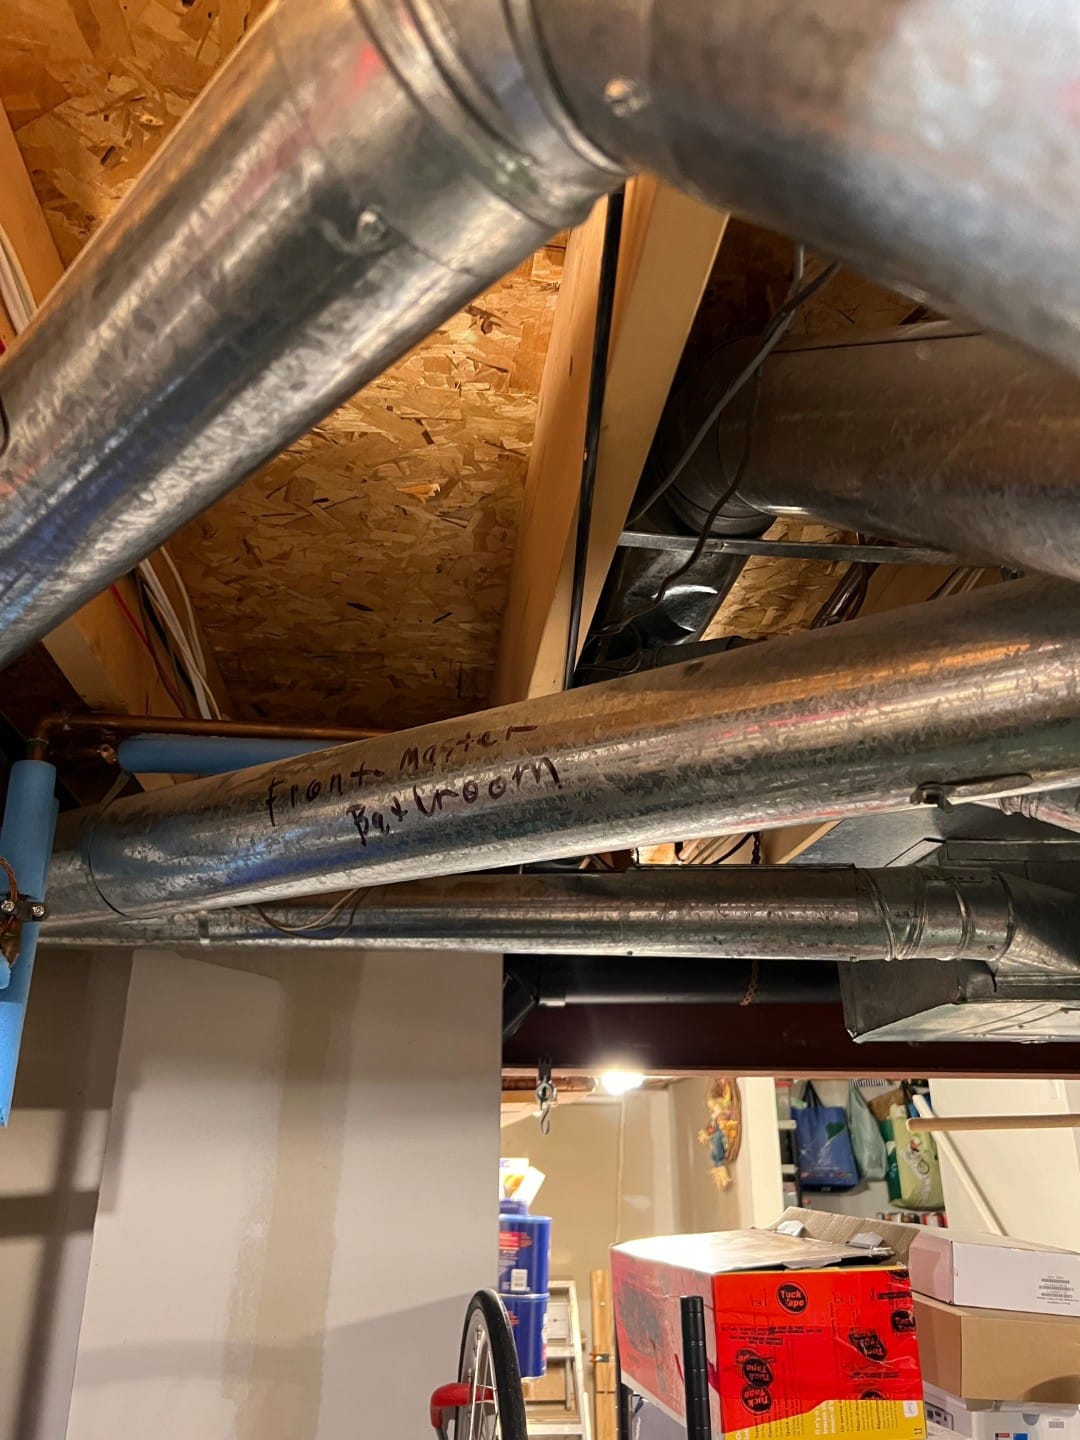
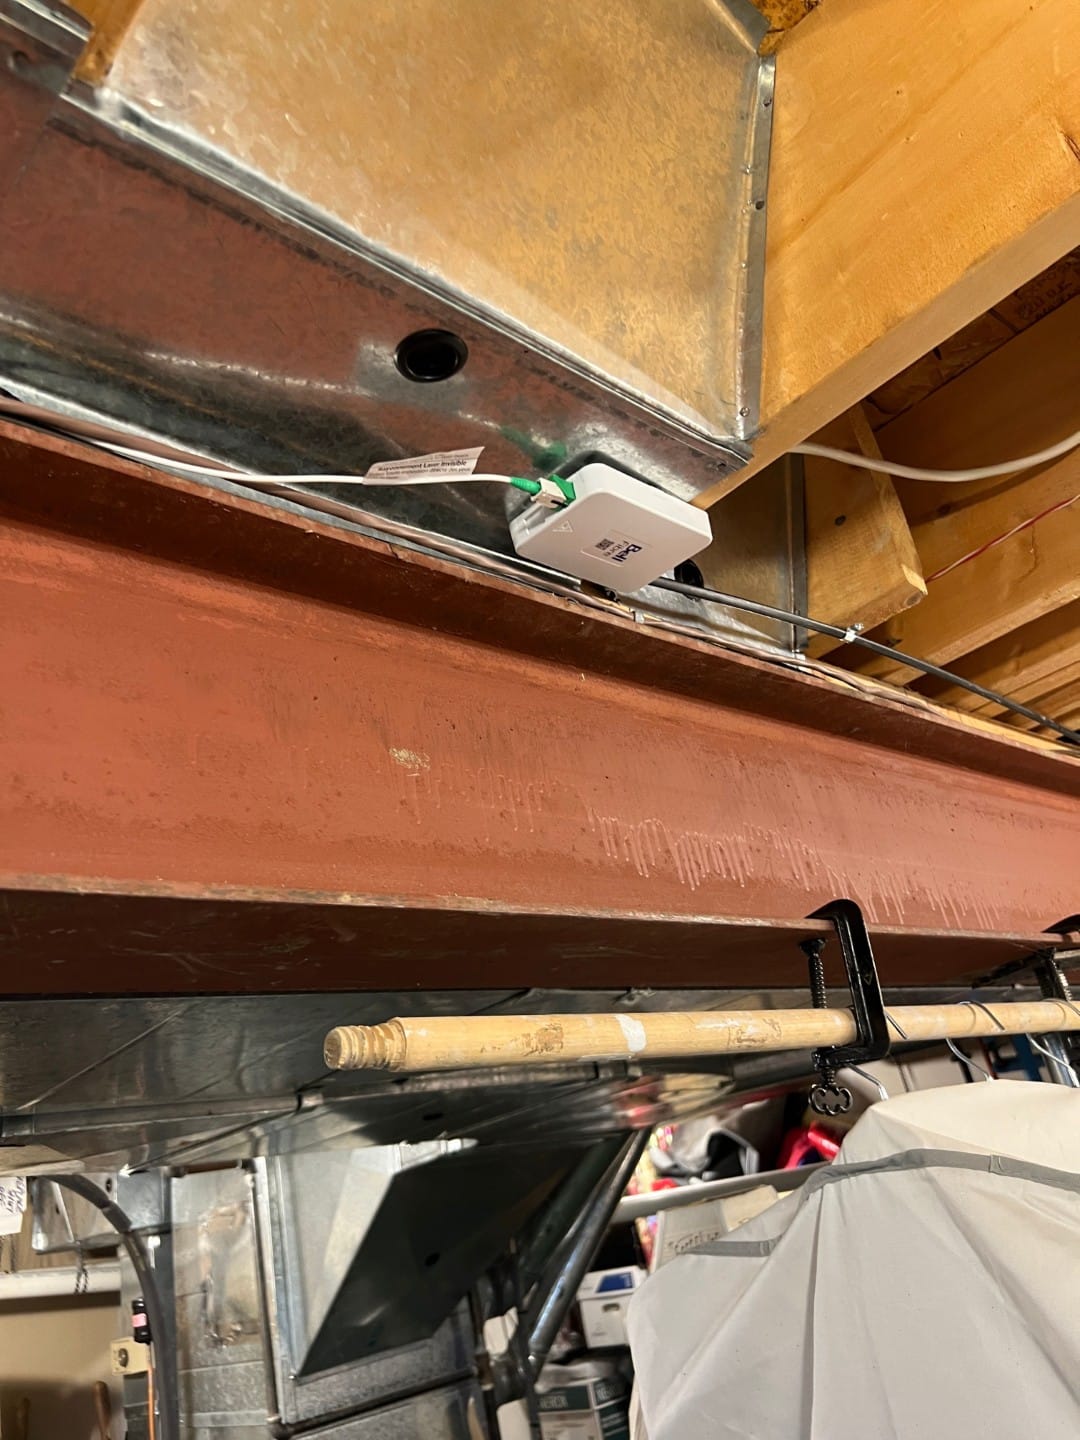
From inside the house, the fibre cable came-out above the electrical panel, behind the insulation. The cable was long enough to reach the i-beam in the middle of my basement, where an optical junction box was installed. This junction box contains the only optical splice he had to make.
Basement routing
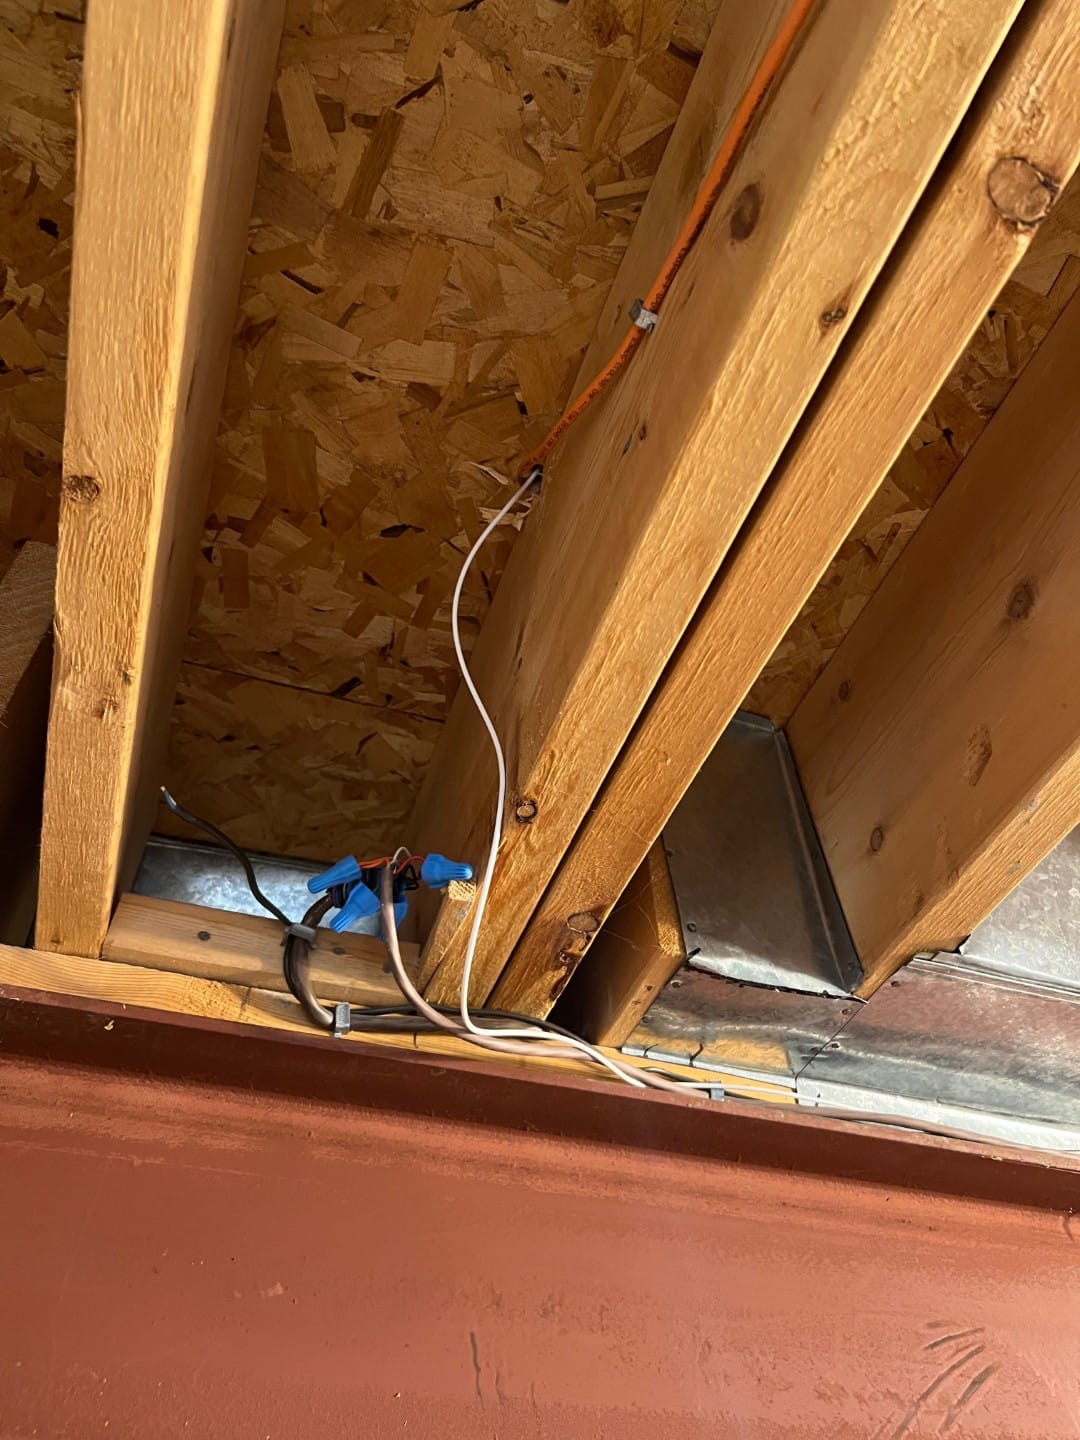
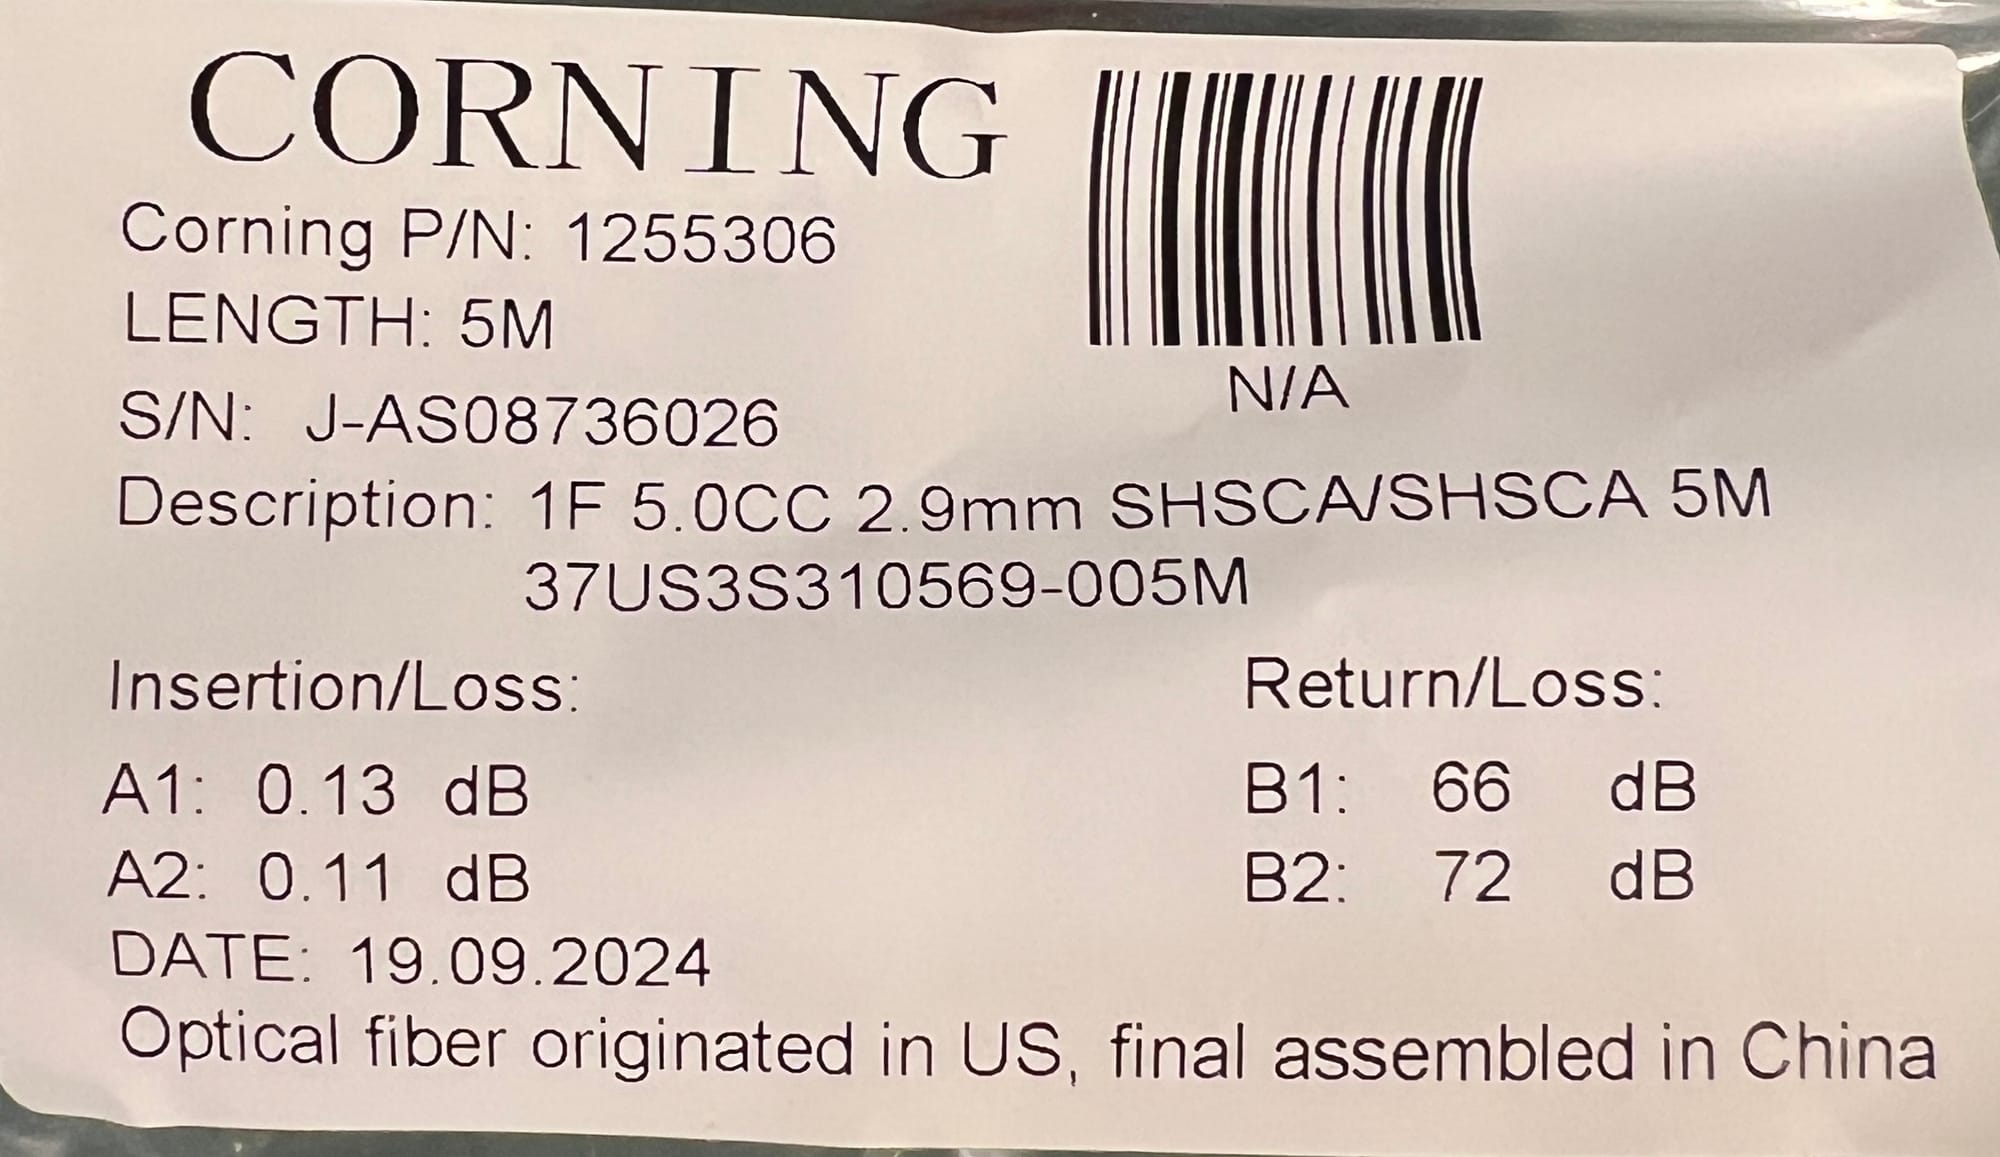
The installer then added a 5m optical extension cable, routed up to the kitchen using an existing hole in the sub-floor used to route a CAT6 cable. He notched the wall-plate of the ethernet receptable with a pair of side-cutters to allow the fibre cable to pass-through to the ONT (not shown below).
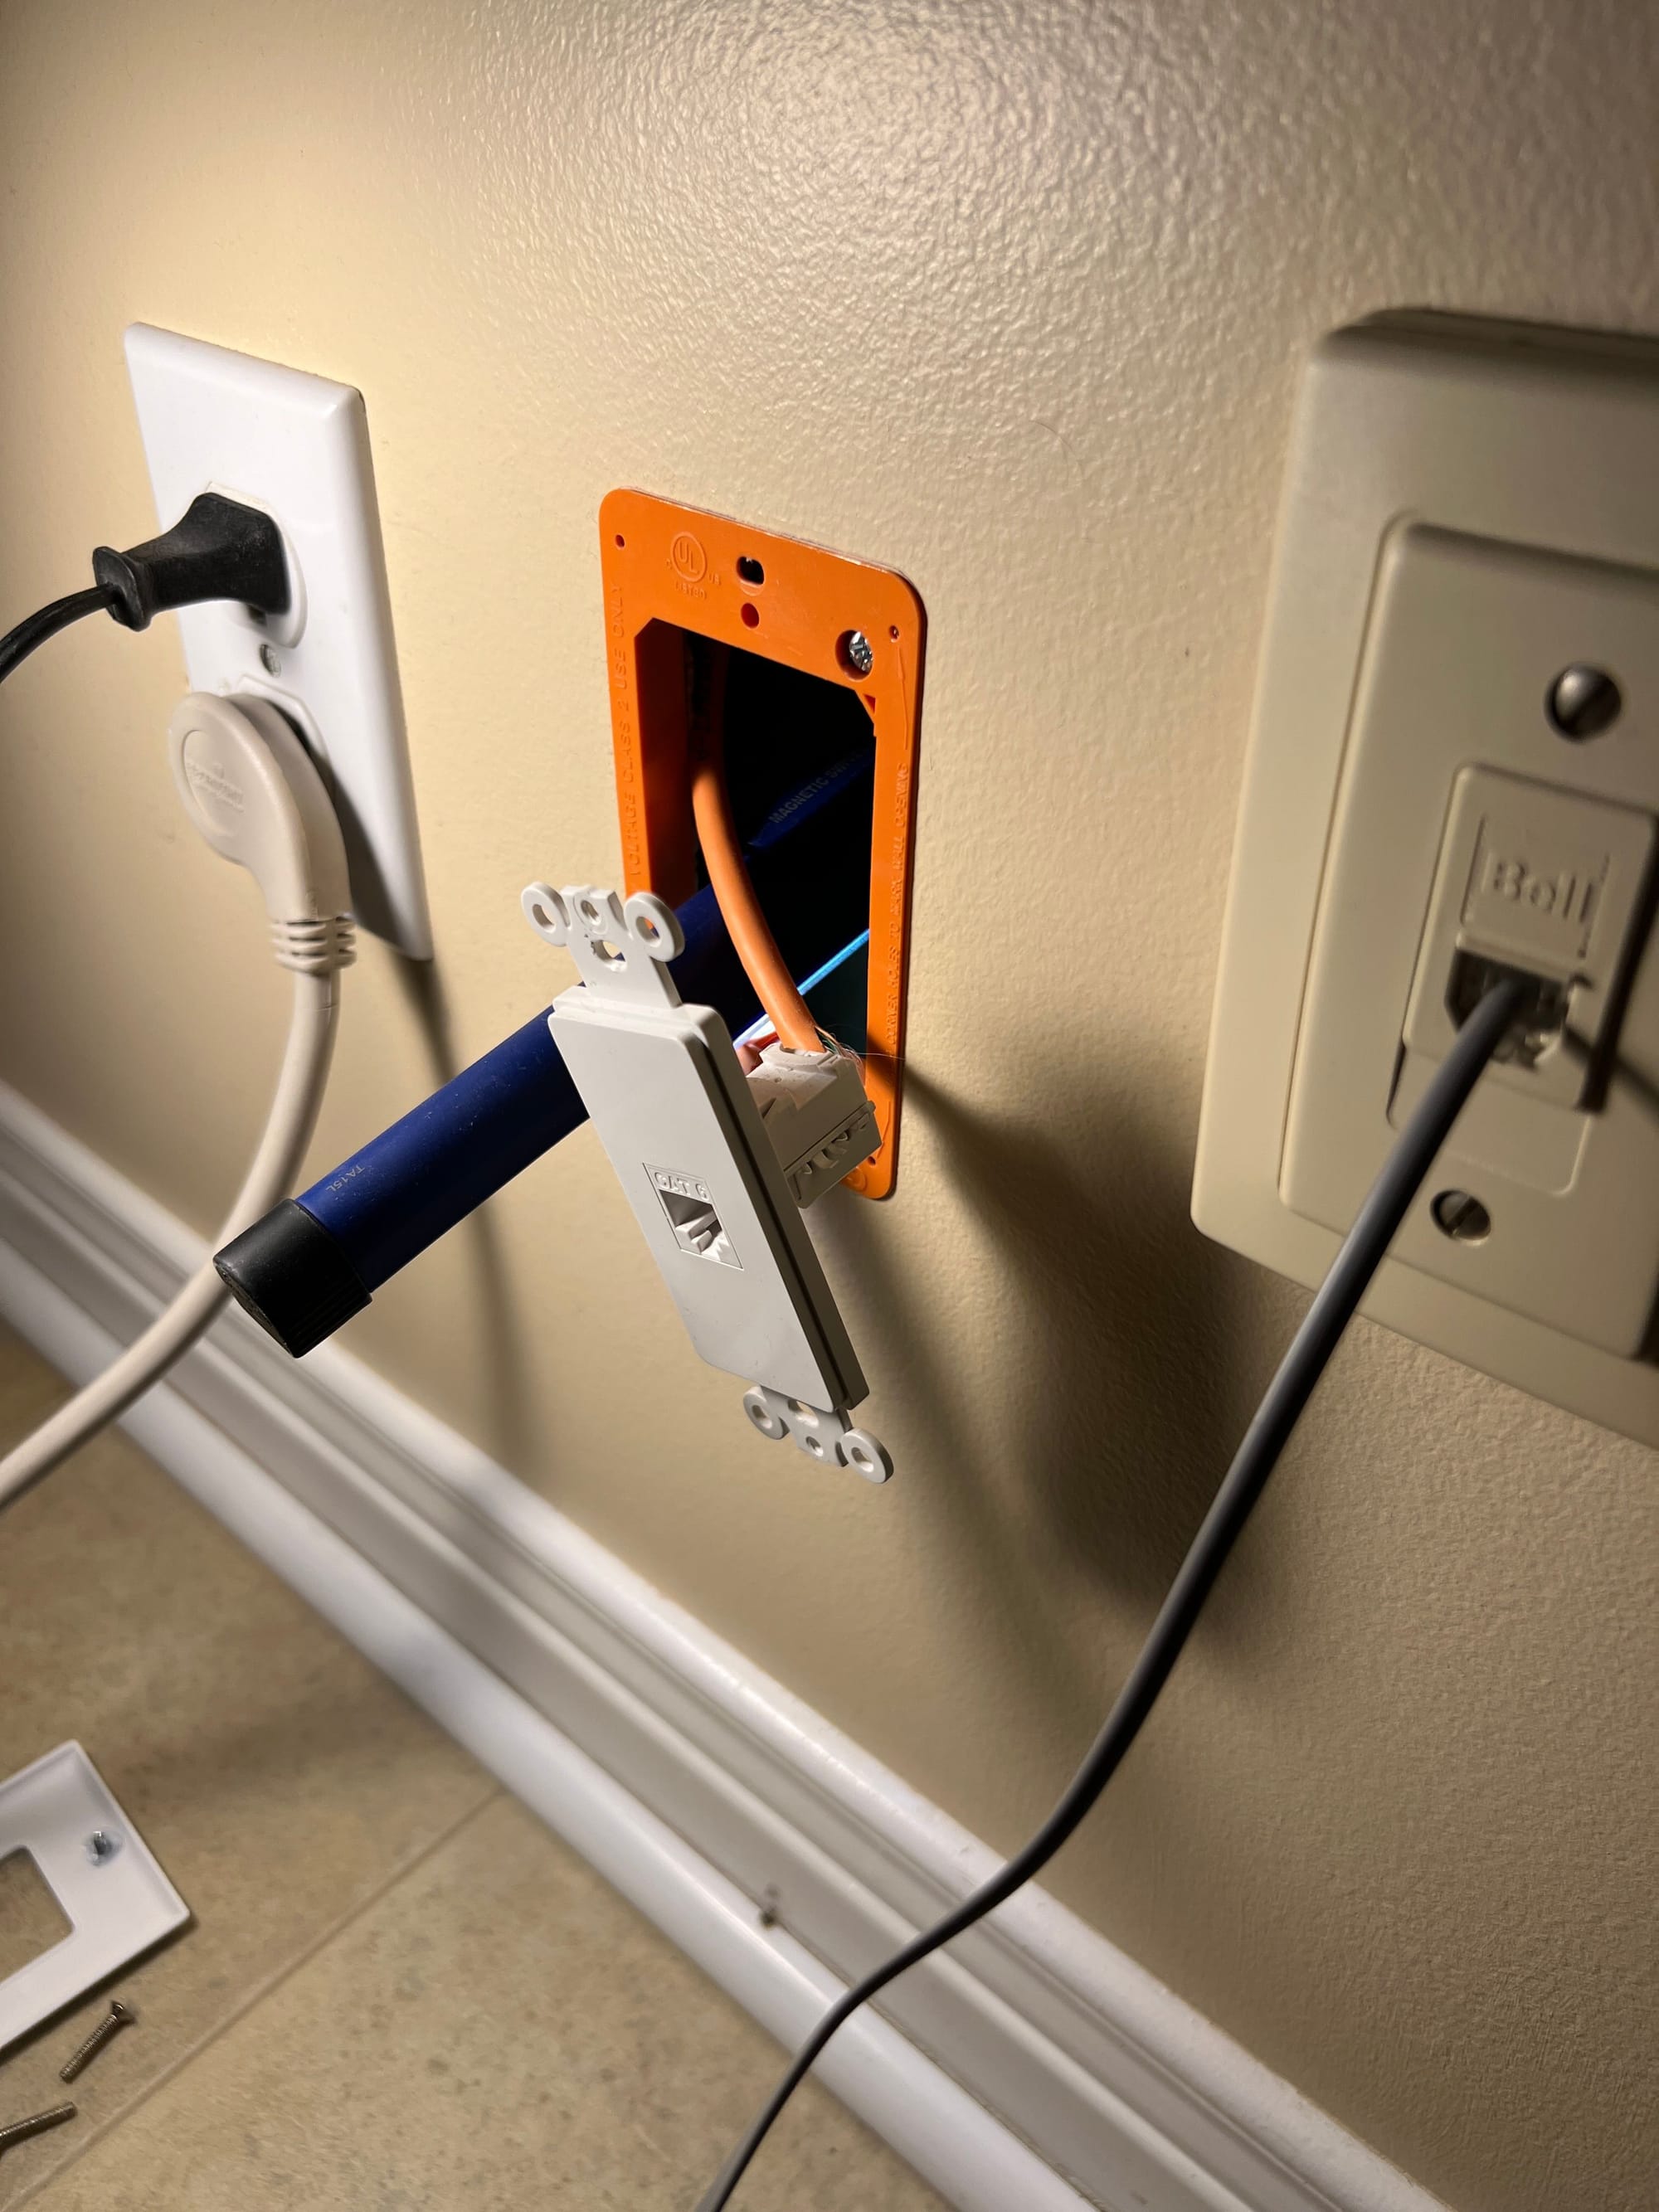
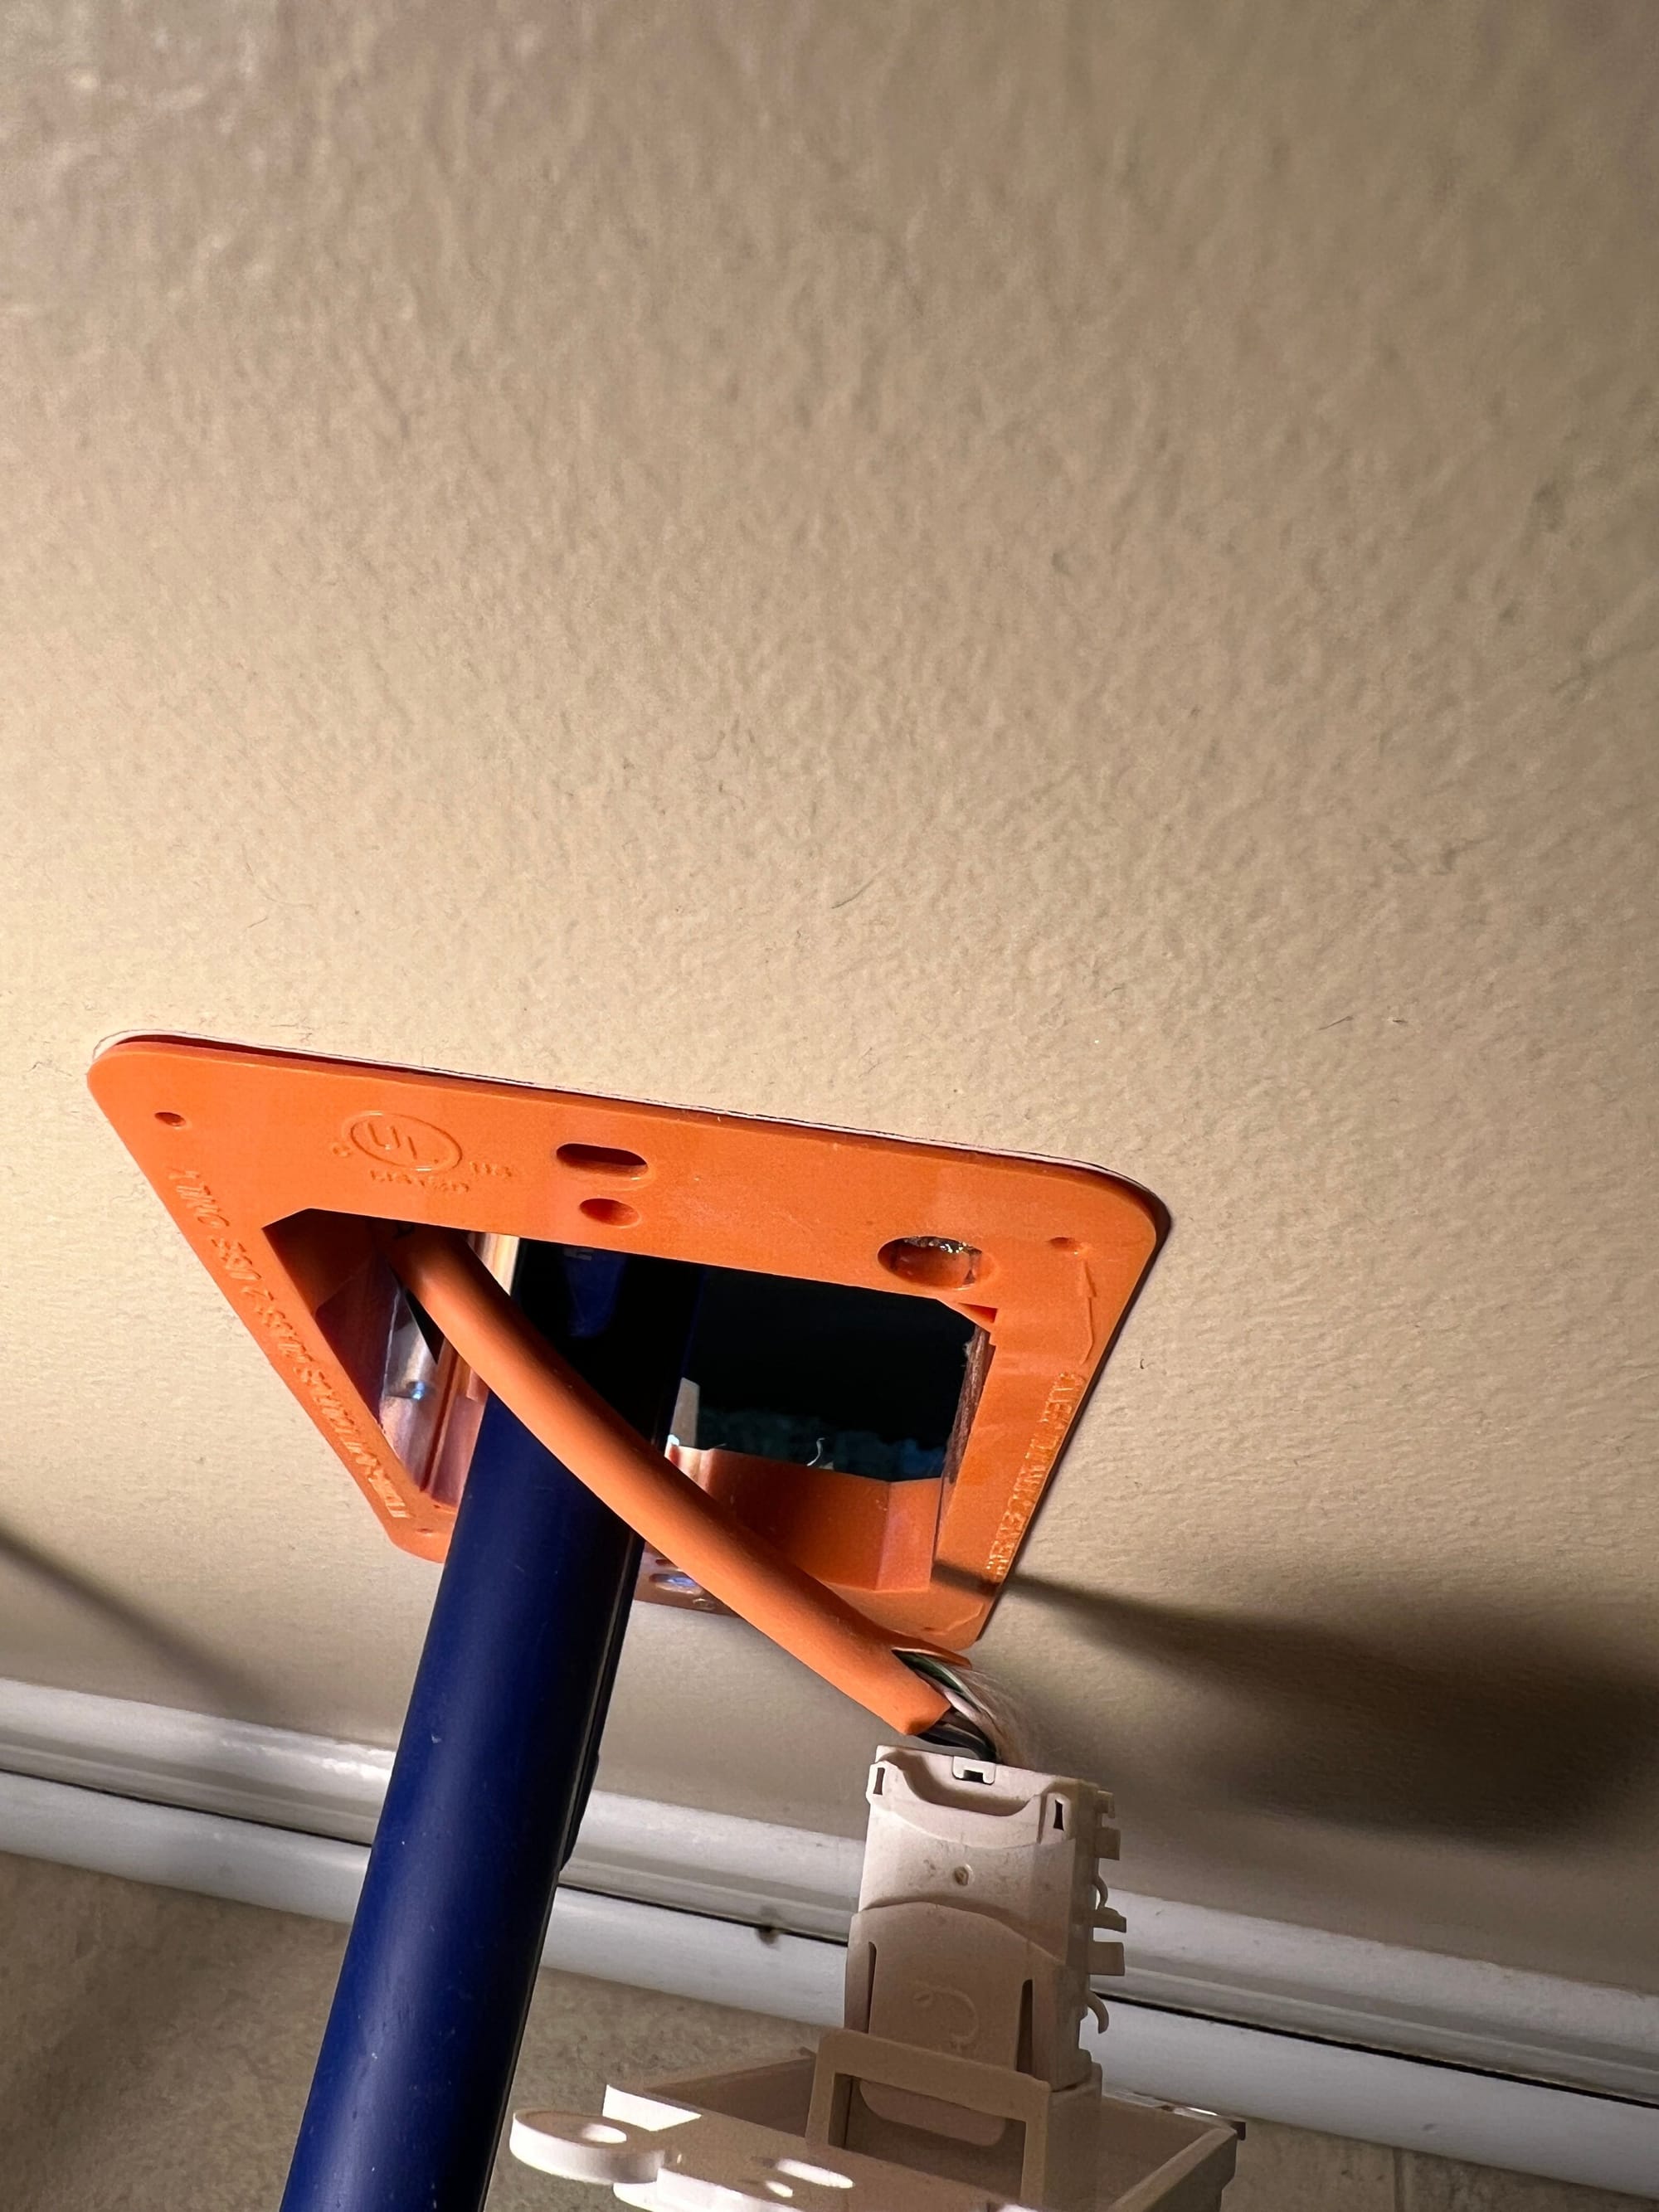
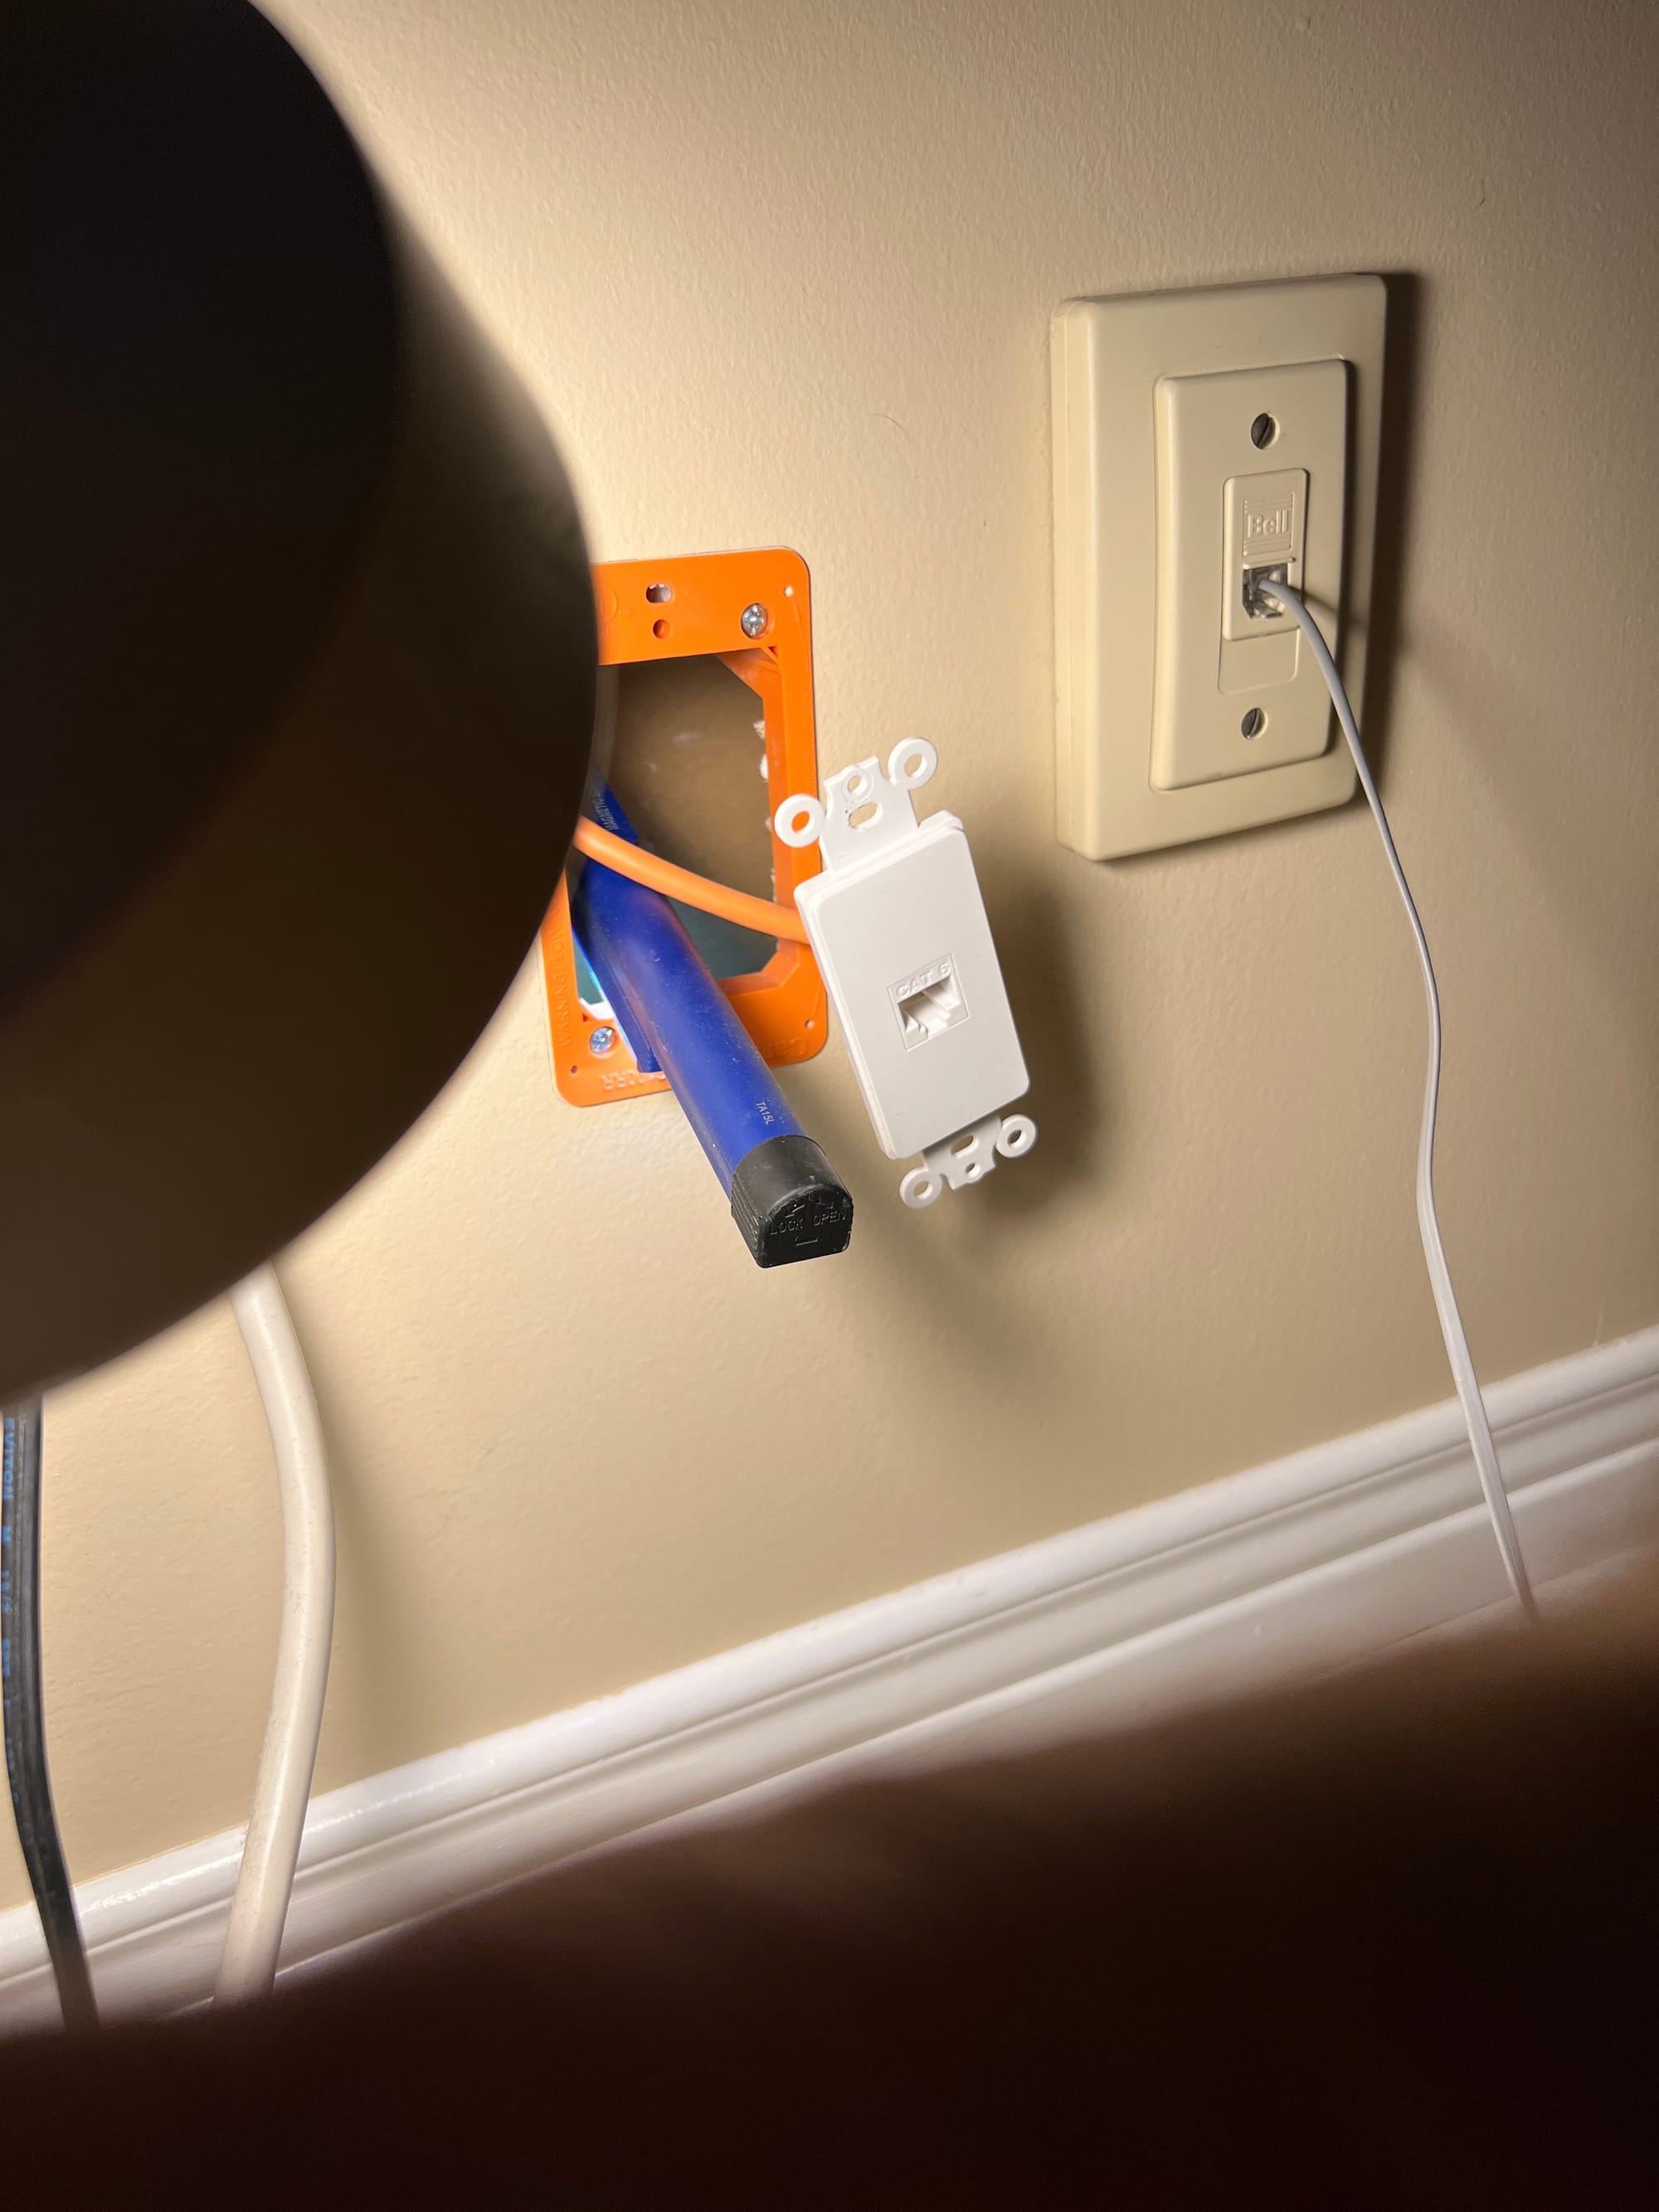
kitchen routing

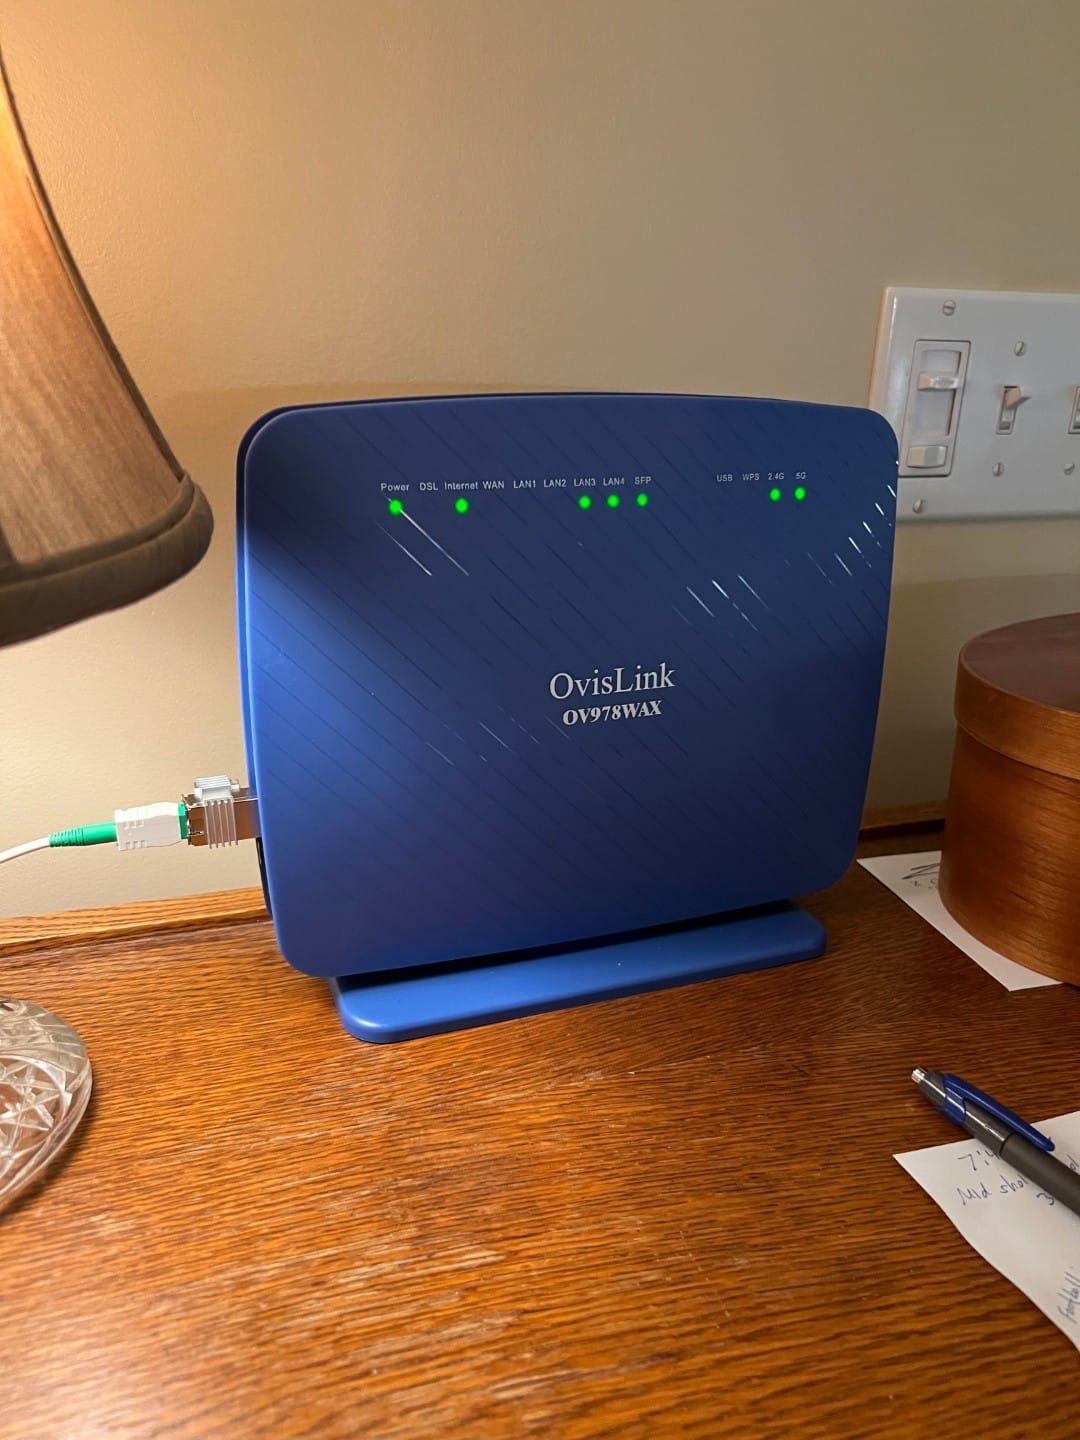
The last picture shows the ONT, with the small stick-on Raspberry-Pi heatsinks I added to the SFP module.
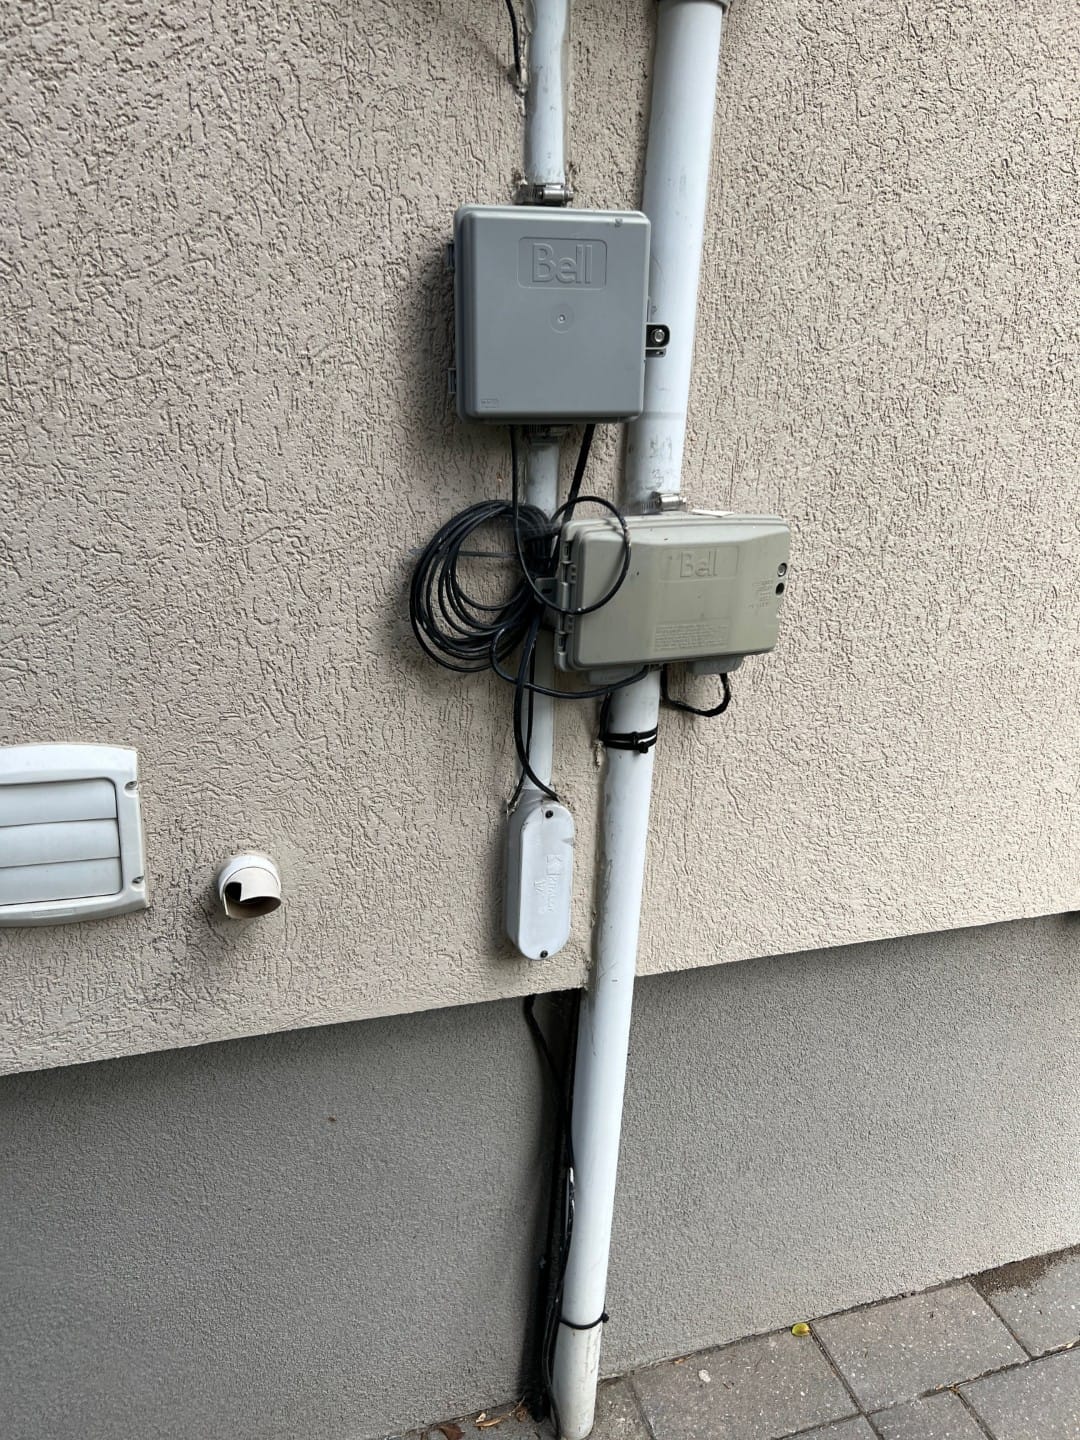
Just as a note, my neighbor's FTTP installation includes an extra fibre junction box (the top square one pictured below). The installer did not install this on my house, stating it created an unnecessary failure point.